Setting Up Clerk in 5 Minutes
A Painless Guide to a NextJS install


Hate recording audio? Same here! But sometimes, it's the best way to capture raw, unscripted thoughts. That's why I'm diving into this blog post to share my experience setting up Clerk in Next.js in just 5 minutes. Buckle up, it's going to be a piece of cake!
Step 1: Sign Up and Create an Application
First things first, head over to Clerk and create an account (if you haven't already).
Then, navigate to the "Applications" page and click "Add Application." Choose your desired authorization method and give your application a title (I went with "Dollar Bucks" because, well, shoutout to Bluey’s Dad).

Step 2: Install Clerk and Set Up Environment Keys
Now, let's get technical. Open your terminal and install Clerk's Next.js SDK using the command provided.
npm install @clerk/nextjs
This SDK comes packed with pre-built components and simplifies configuration, making your life a whole lot easier.
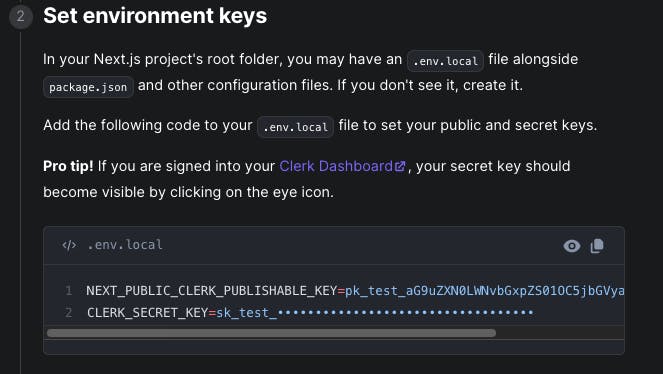
Next, we need to set up those environment keys. If you haven't already, create an .env.local file in your root directory and paste in your Clerk keys from the previous step. Easy peasy.
Step 3: Wrap Your App with the ClerkProvider
Time to wrap your app in the magical ClerkProvider. This guy makes the active session and user content accessible throughout your entire application. Just remember to import it from Clerk and wrap your desired file (layout.tsx in my case) with the provider element.
import { ClerkProvider } from '@clerk/nextjs'
import './globals.css'

  return (
    <ClerkProvider>
      <html lang="en">
        <body>{children}</body>
      </html>
    </ClerkProvider>
  )
}
Step 4: Create Middleware File and Customize Access
Middleware? Don't worry, it's not as scary as it sounds. Simply create a new file called middleware.ts in your root directory. This file handles authentication and controls who can access your app. Copy and paste the code provided in Clerk's docs, and voila!
import { authMiddleware } from "@clerk/nextjs";

// This example protects all routes including api/trpc routes
// Please edit this to allow other routes to be public as needed.
// See https://clerk.com/docs/references/nextjs/auth-middleware for more information about configuring your Middleware
export default authMiddleware({});

export const config = {
  matcher: ["/((?!.+\\.[\\w]+$|_next).*)", "/", "/(api|trpc)(.*)"],
};
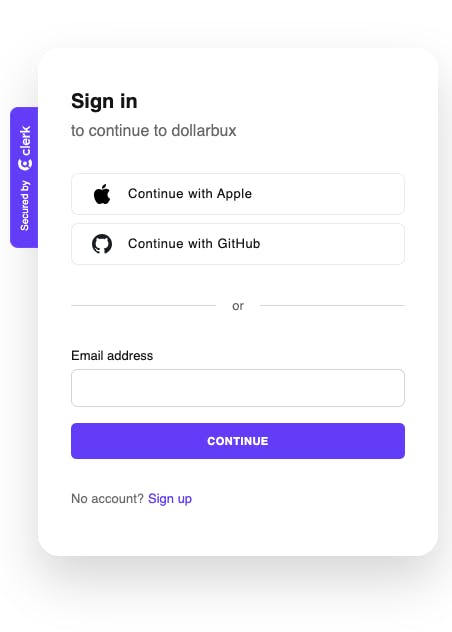
You should see a beautiful modal pop up.
Now, let's personalize things. Edit the middleware file to define your public routes (pages accessible without logging in). In my case, I added the main page and the /api/webhooks route. You can also specify routes Clerk should ignore, but that's for later.
import { authMiddleware } from "@clerk/nextjs";

export default authMiddleware({
  publicRoutes: [
    '/',
    '/api/webhook/clerk'
  ]
});
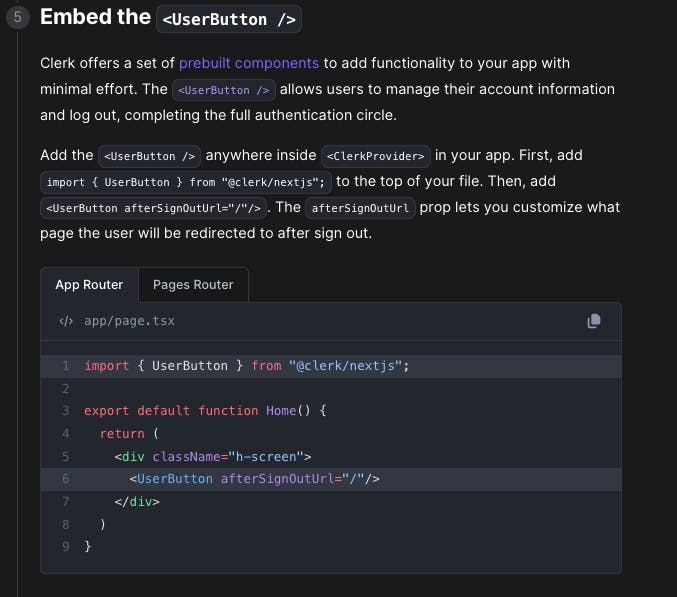
Step 5: Implement Sign Out and Link to Sign In
Remember that "Moment of Truth" button? Here's where it comes in. Import the SignOut component from Clerk and add it to your app. Then, create a button with some snazzy styling (thanks, Tailwind CSS!) and link it to Clerk's sign-in page. Boom! You've got a basic sign-out flow.
Bonus Tip: All those Clerk components for the sign-in and sign-out cards are totally customizable! Play around with them in Clerk's dashboard to create a look that matches your brand.
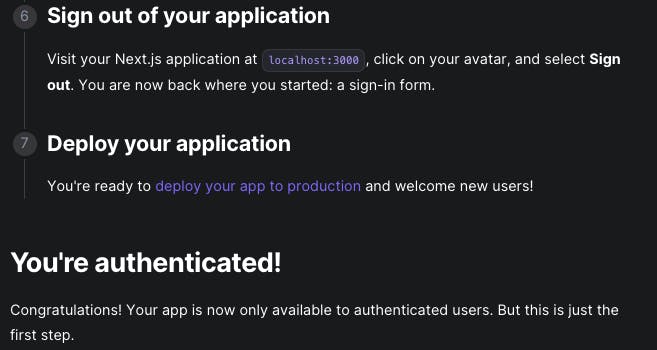
And that's it! You've successfully set up Clerk in your Next.js app in just 5 minutes. Remember, this is just the tip of the iceberg. Check out Clerk's documentation for even more features and options.
This post is dedicated to all the audio-haters out there. Hopefully, it proves that setting up Clerk doesn't have to be a painful experience. Be sure to check out my original tutorial video here in all its awkward glory
And also check me out on X here for all the latest cool stuff we are learning about. Now go forth and build something awesome! </fin>